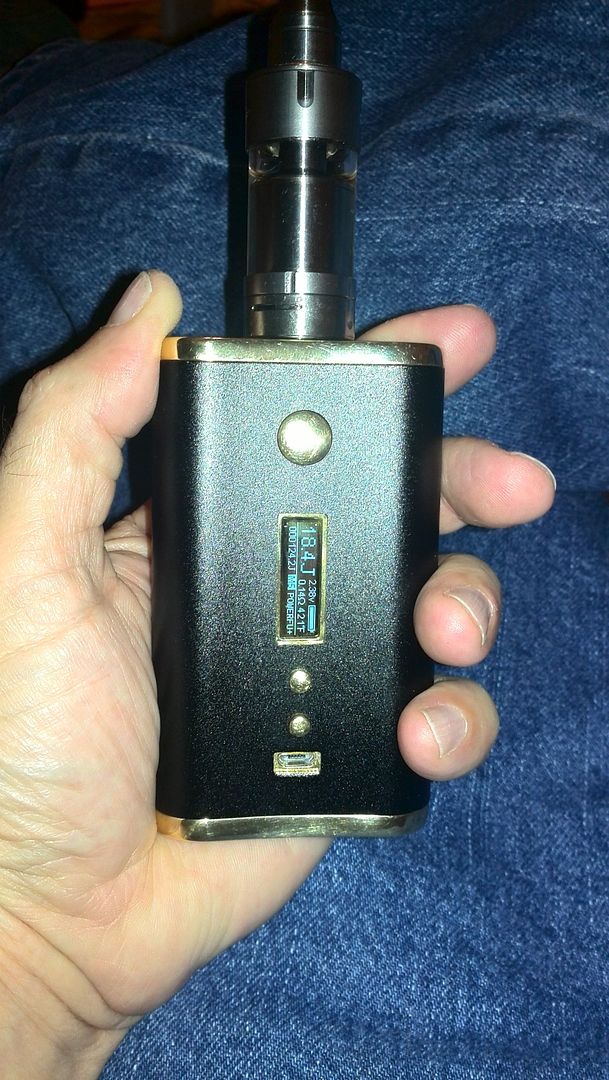
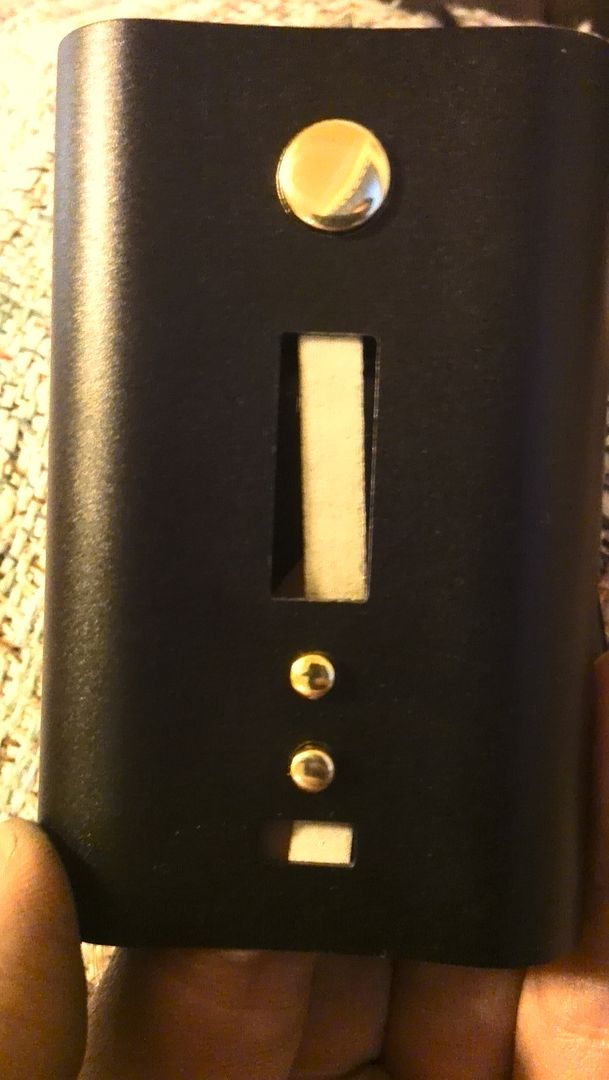
It's been a little while since I checked in so I thought I'd share a build. As the title reads it's an SX350J built into a Vapor Flask type configuration that I am really liking!
I started out with some button that I milled and powder coated that ended up just looking too busy for my taste.

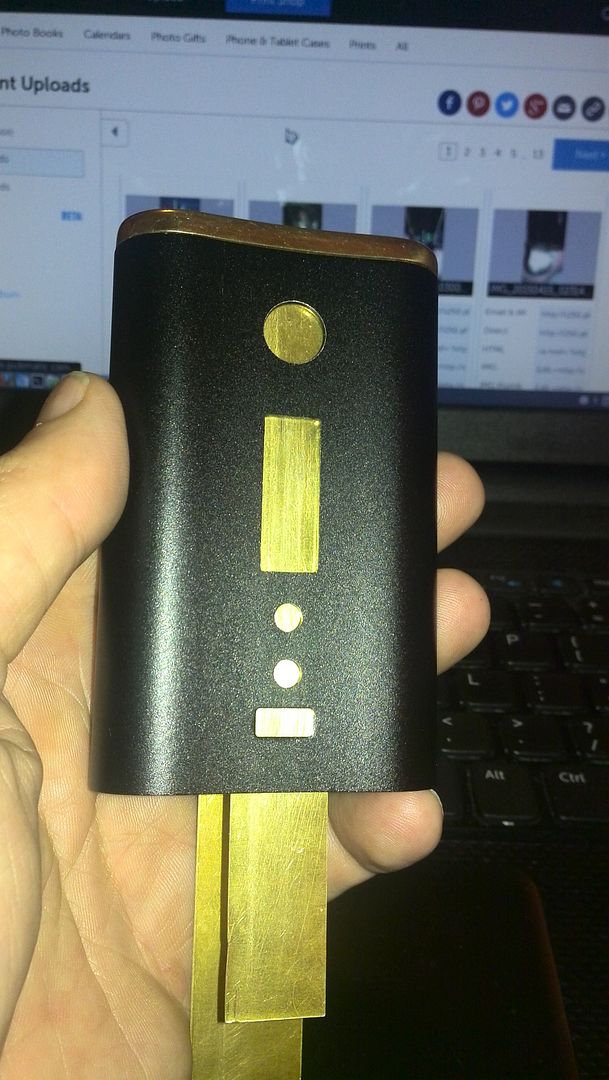
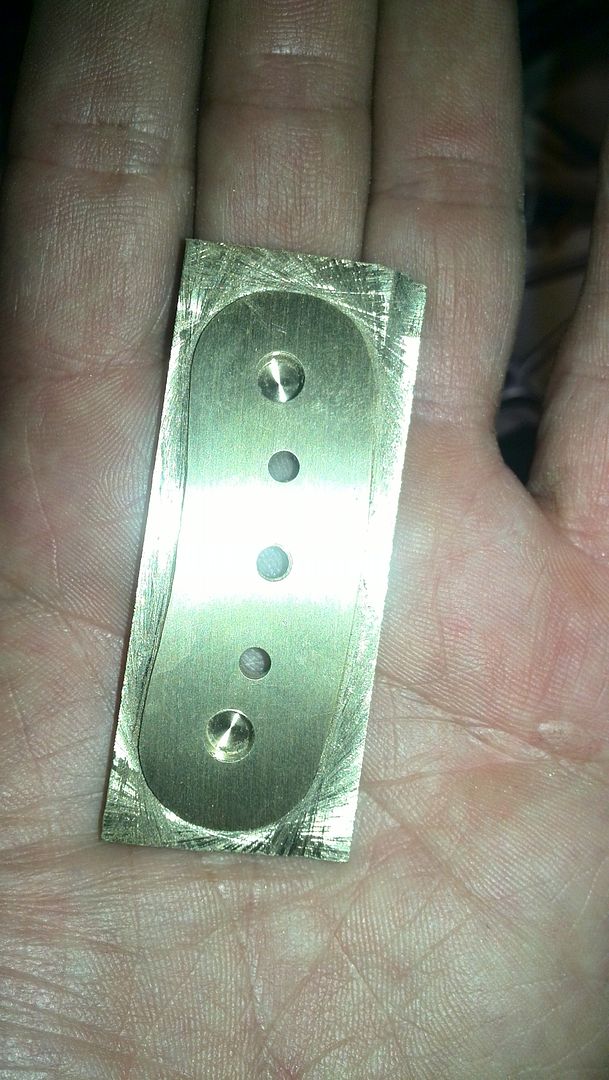
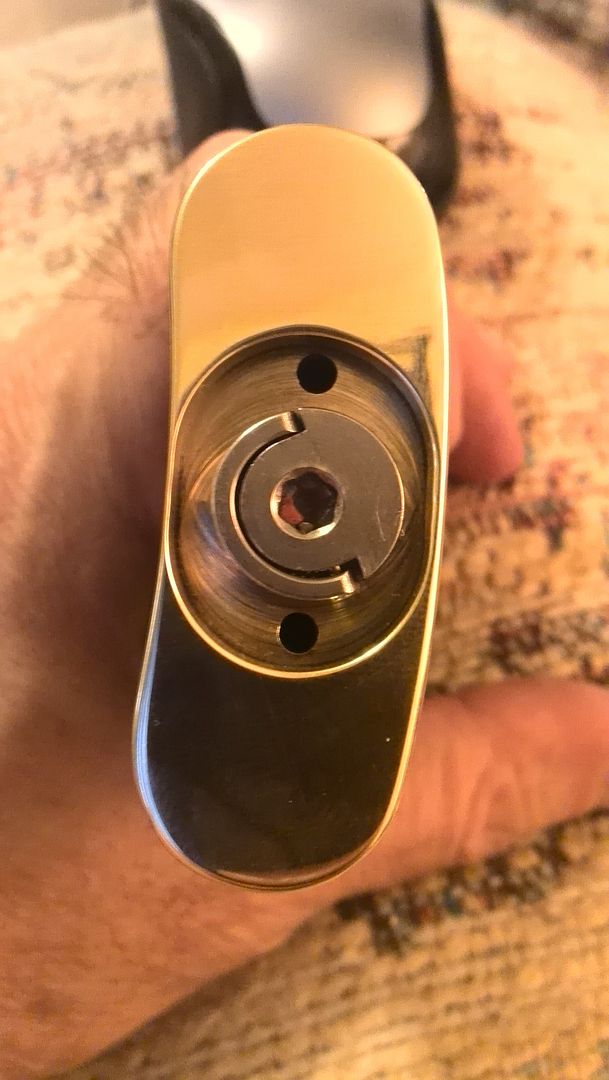
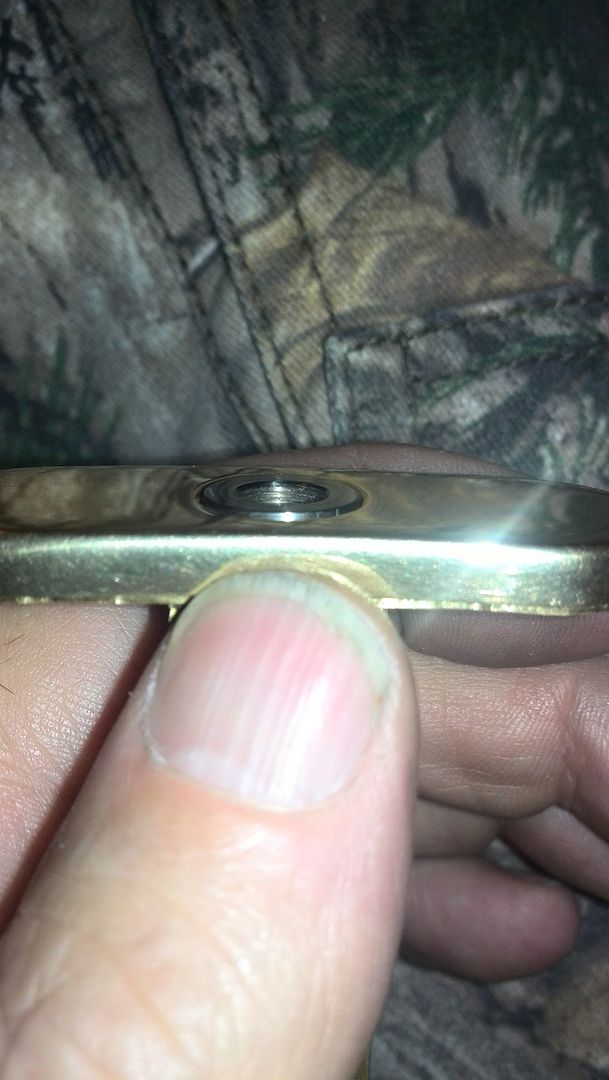
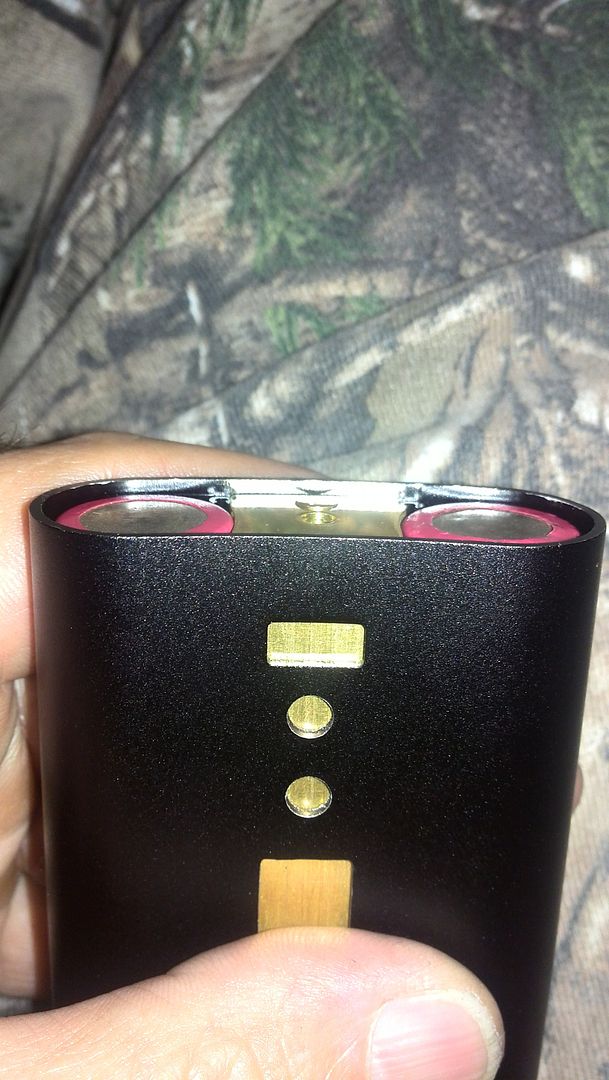
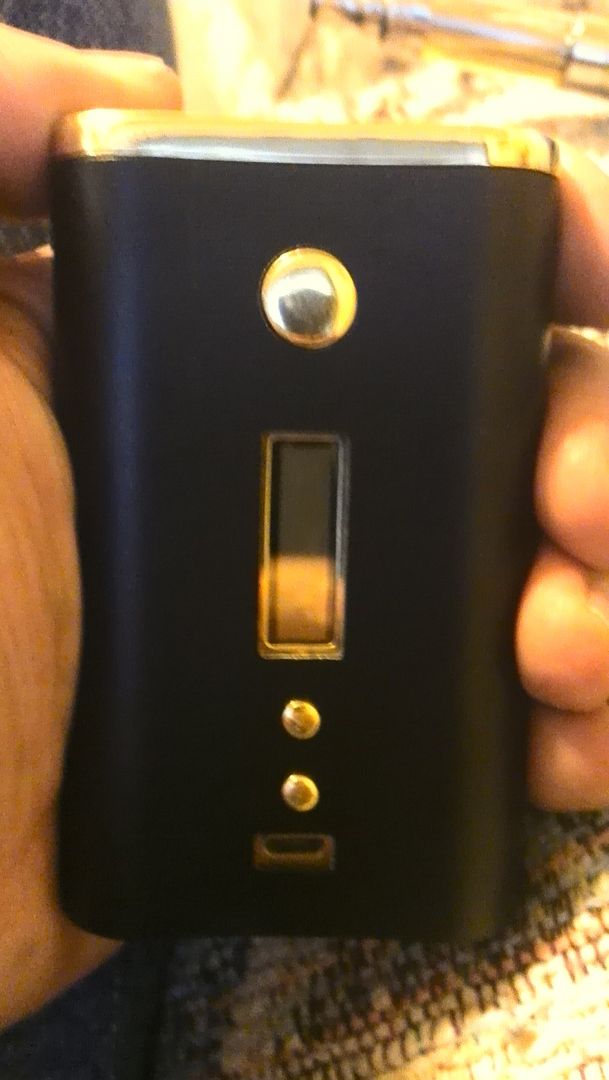
Then I milled a brass top cap with a recess for a 510 connector after setting up my layout on the power bank
https://www.fasttech.com/p/1702204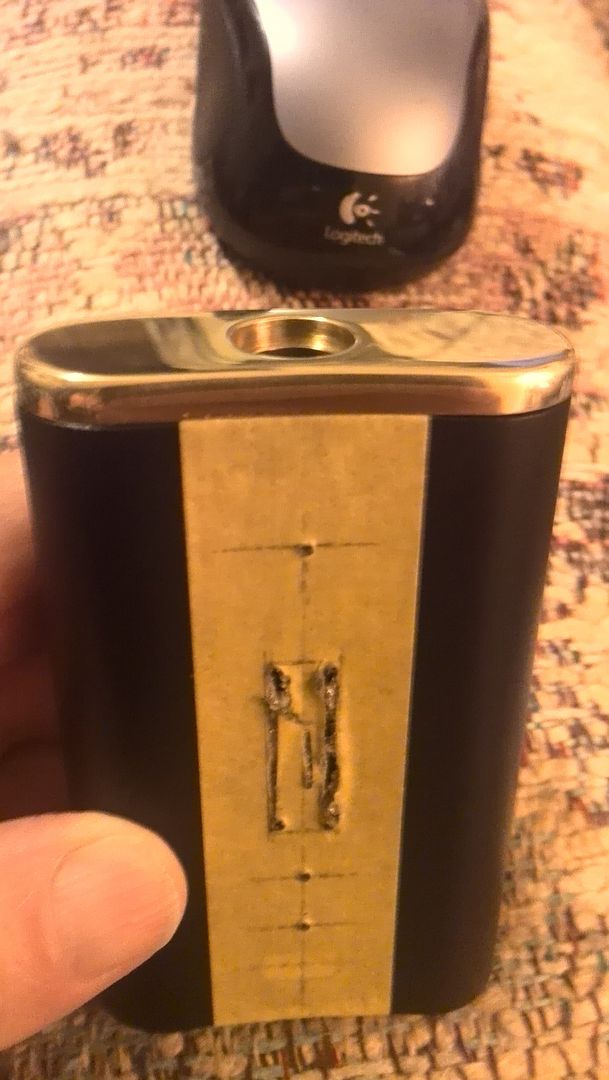
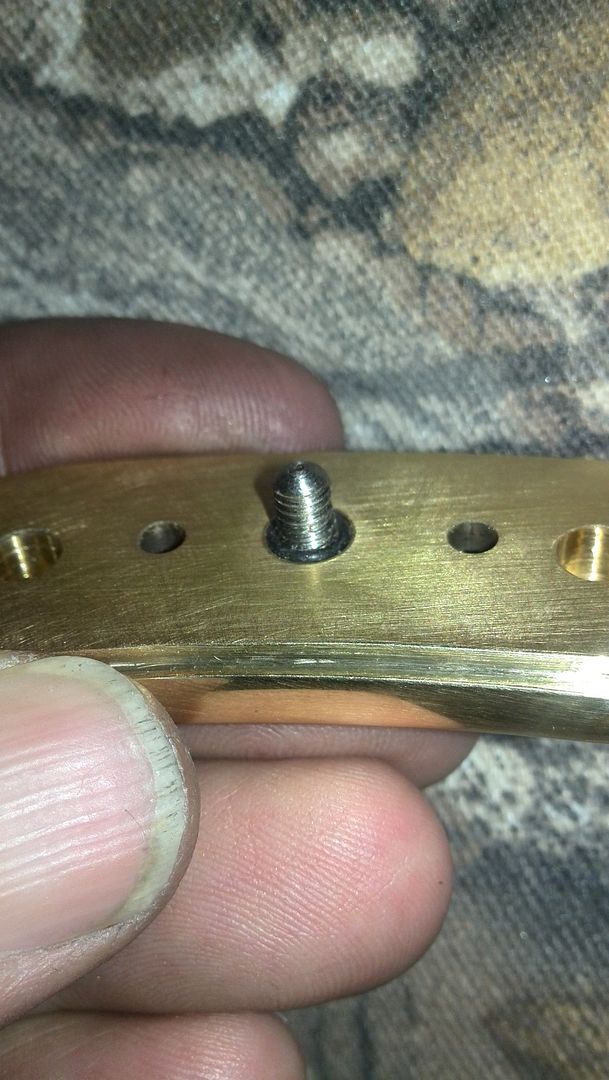
Cut some .016" thick brass to the right width to fit into what are now channels for the interior assembly to slide into.
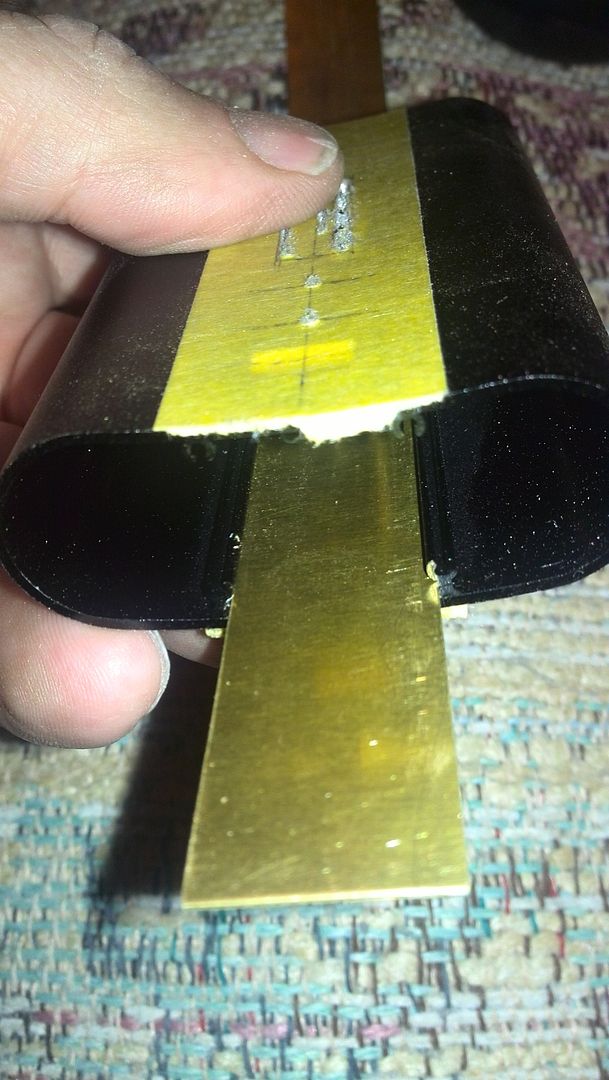
Stated to put the bends on it needed to enter the other thinner channel.
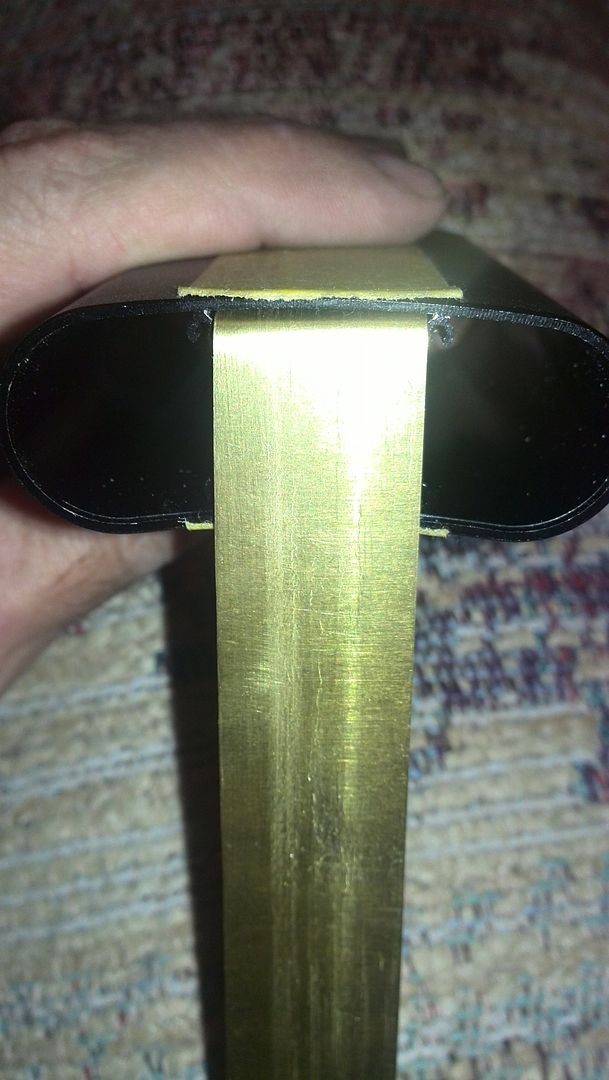
Narrowed the brass for the other channel, drilled out a hole for the 510 and soldered everything in place with some silver bearing solder.
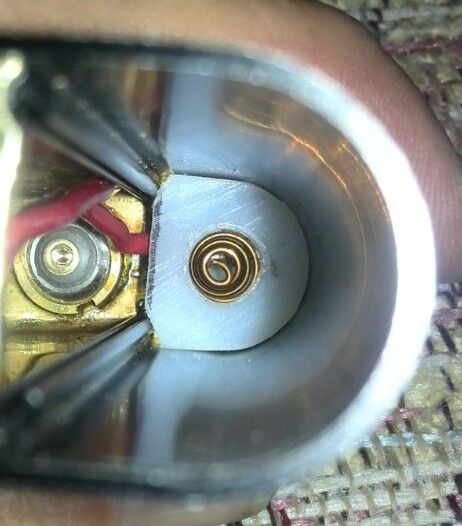
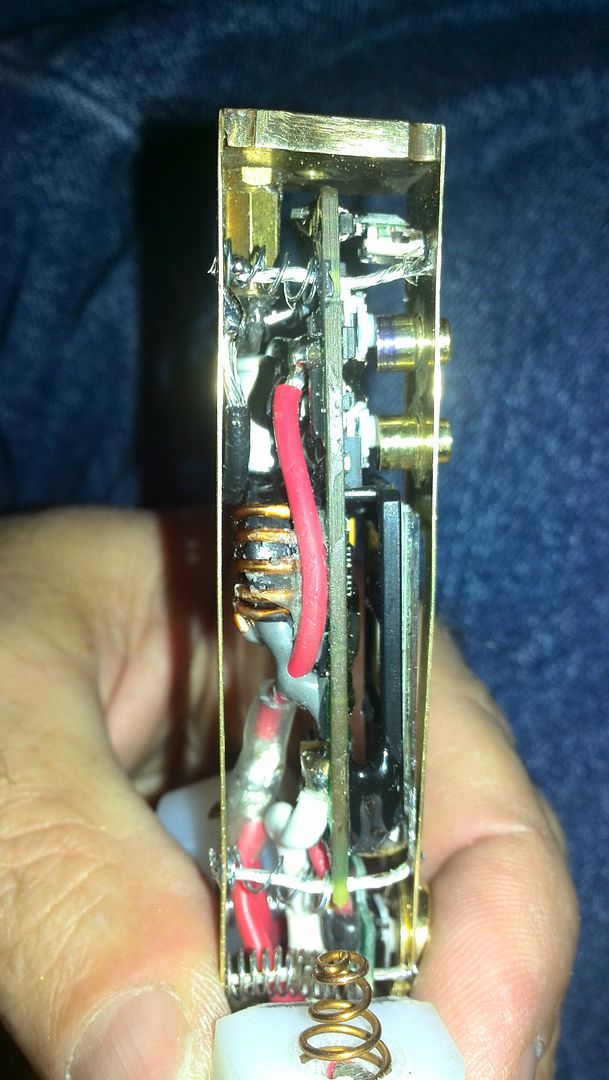
A look down inside thinking this is going to be tight!
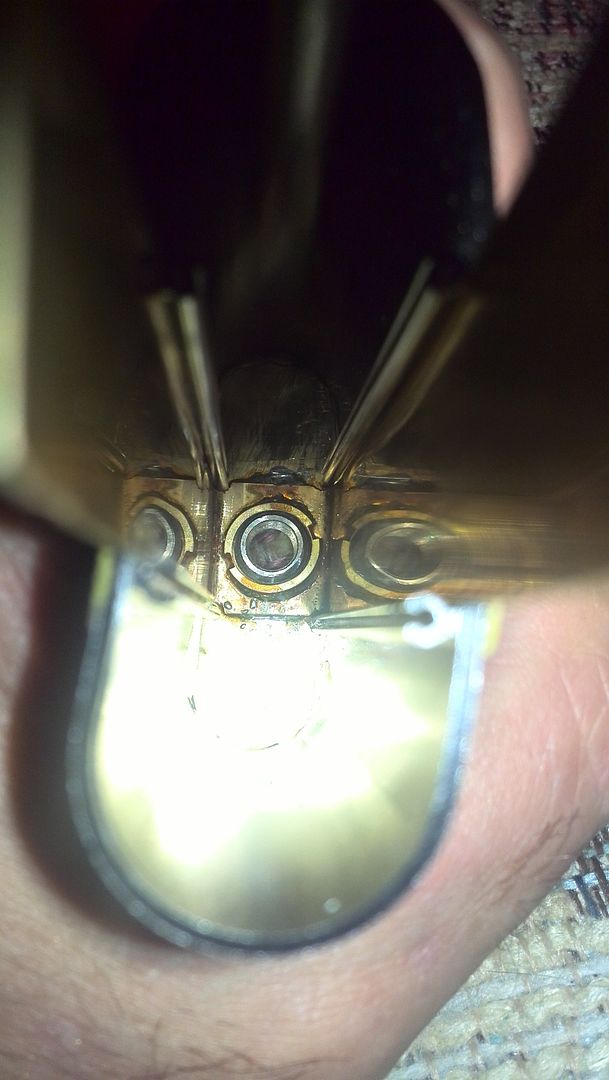
Yep, it is tight in there!
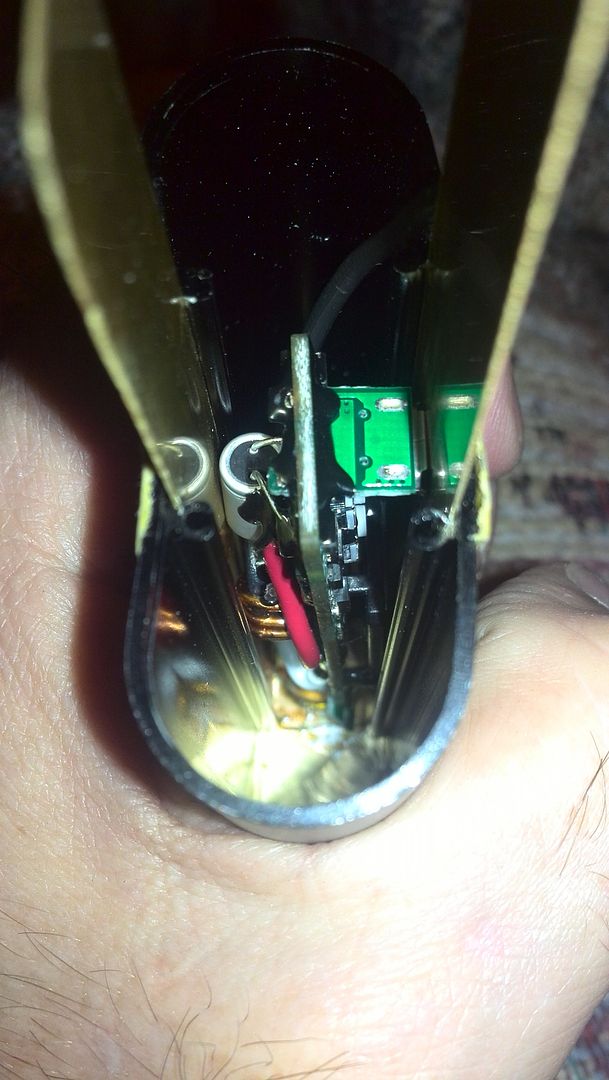
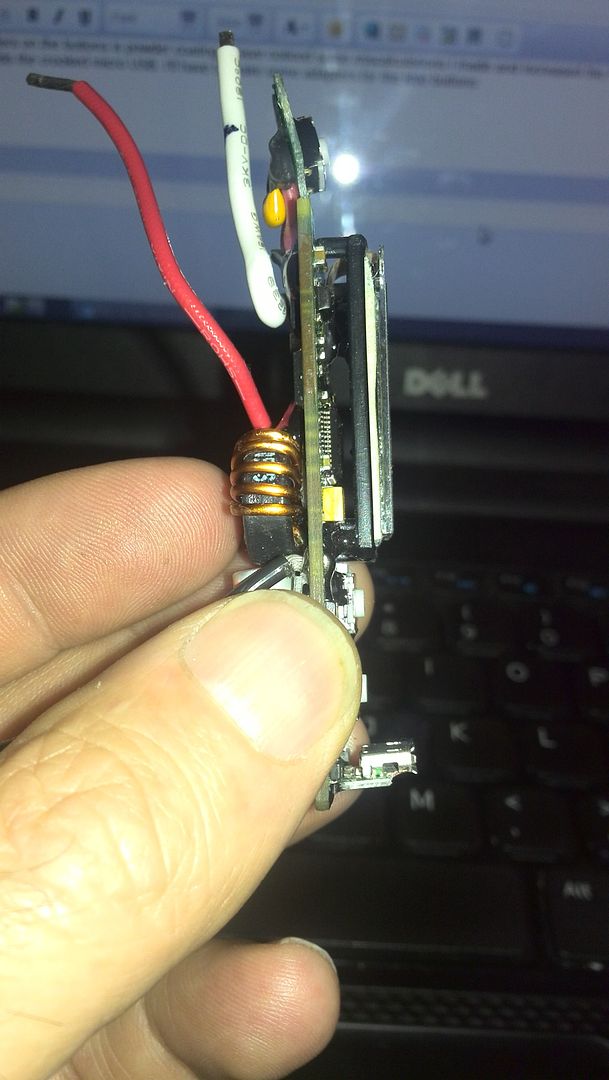
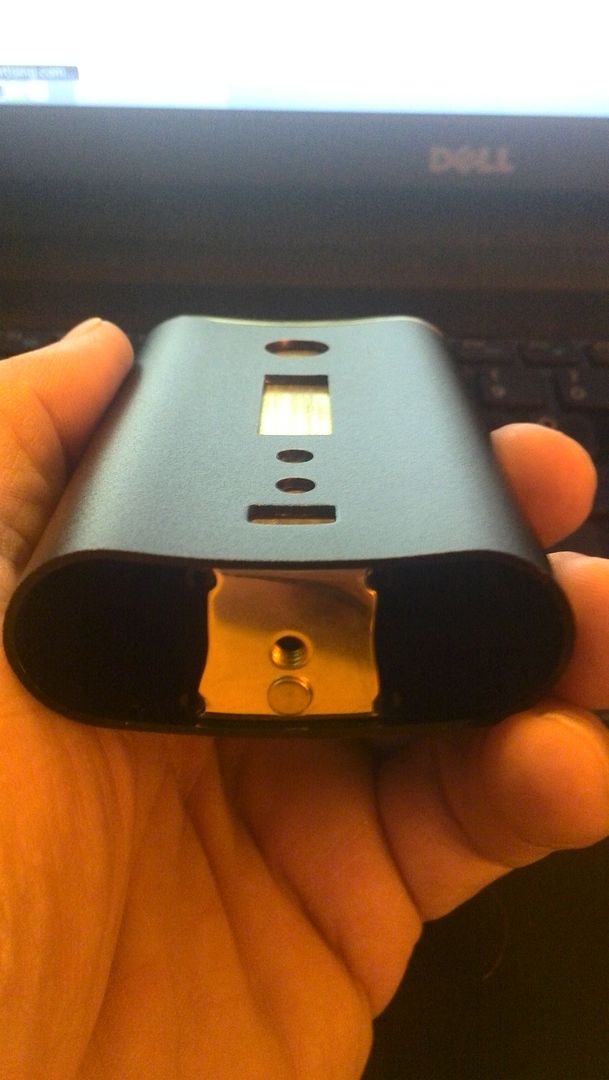
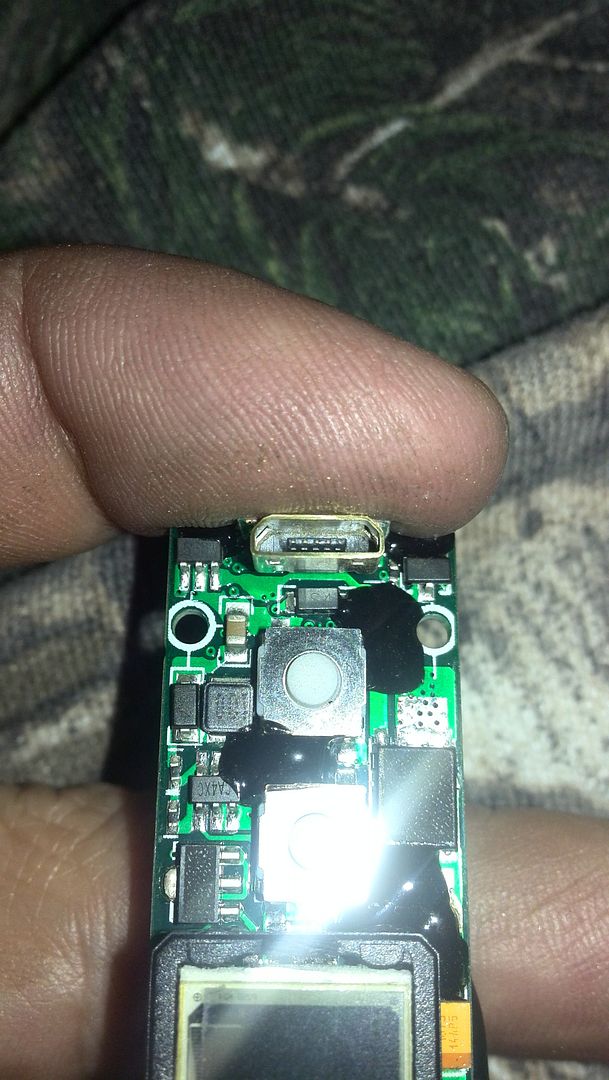
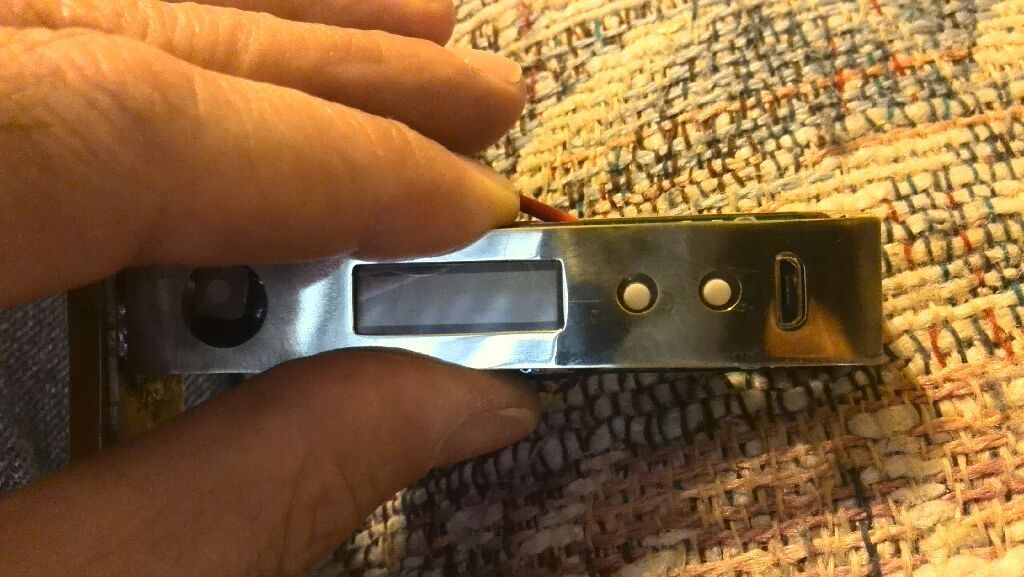
I realized mounting the SX350J to a flat surface wasn't going to work out as I though originally so I elevated the display and removed some of the board the USB port is mounted to.
Got the display hole squared up.
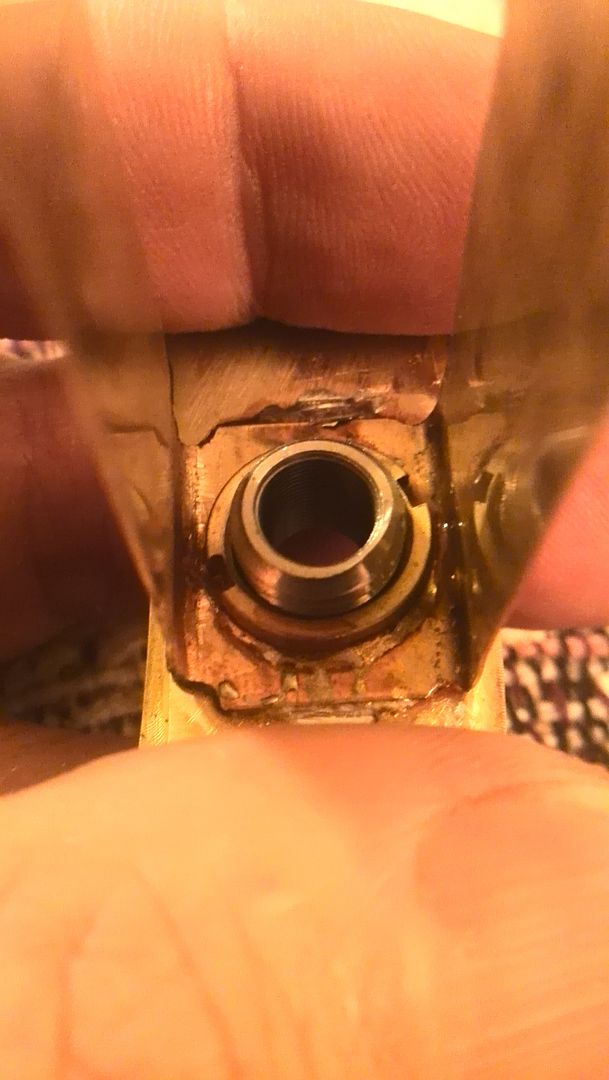
Then it was time to start working on the bottom, this little bugger took a few attempts at getting the thread correct and I ended up settling for what you see here.
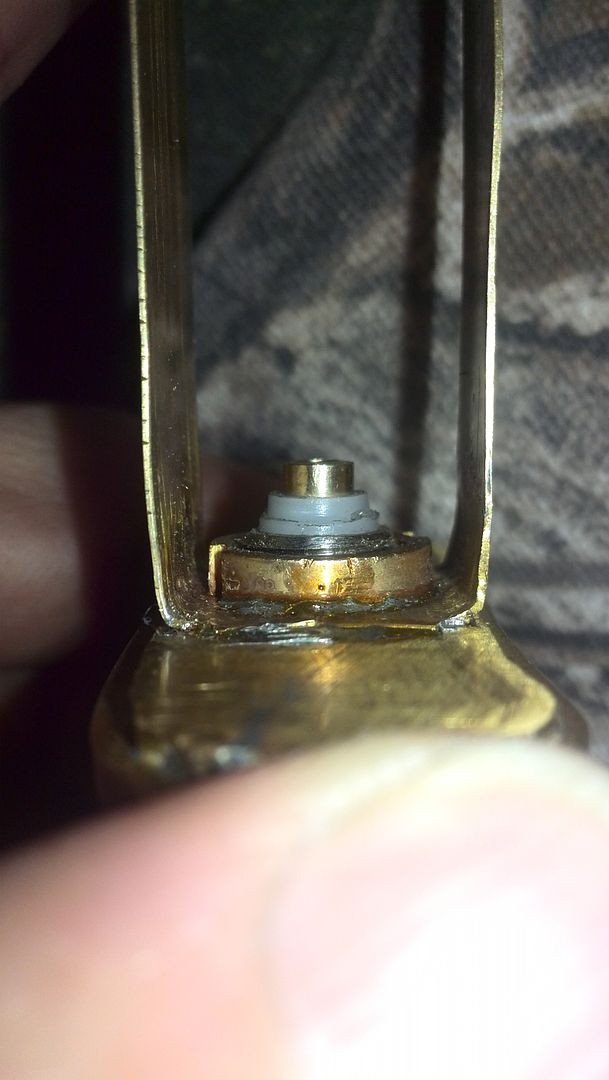
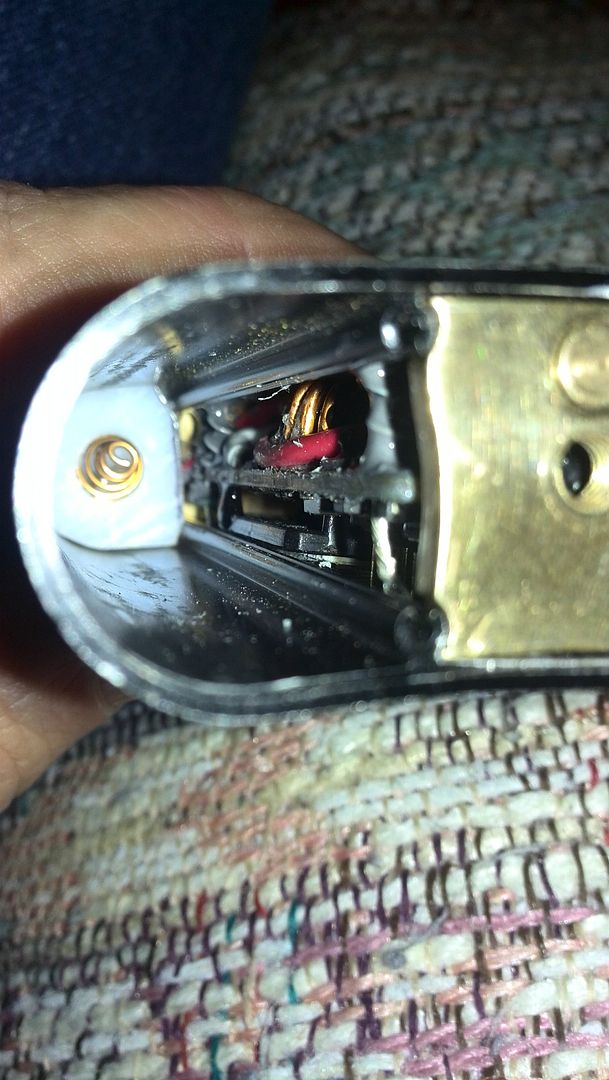
Needed a receiving end for the threads that almost whopped me so I got it soldered into place.
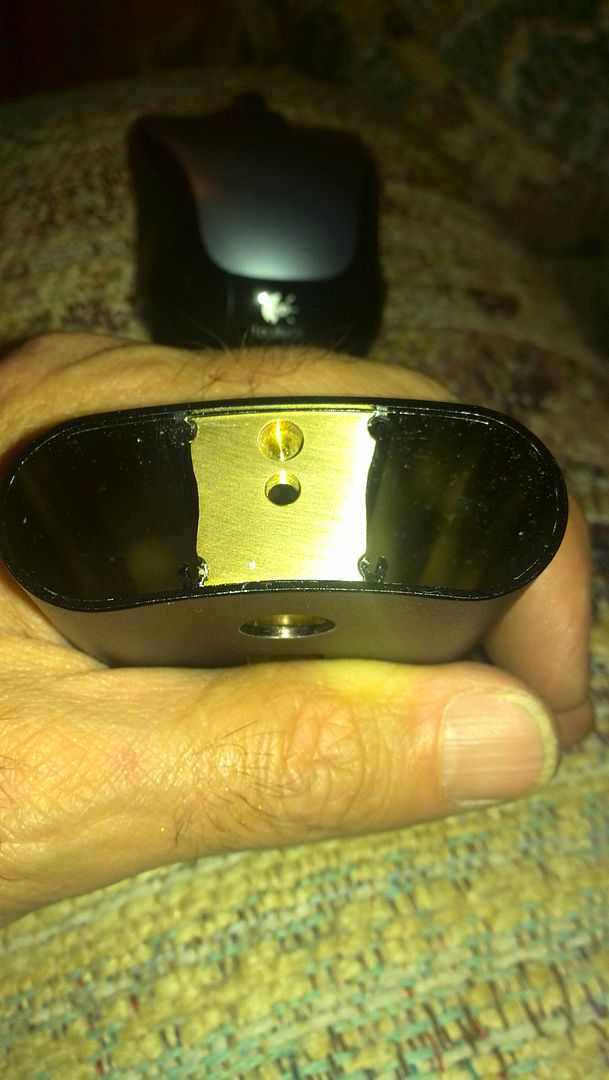
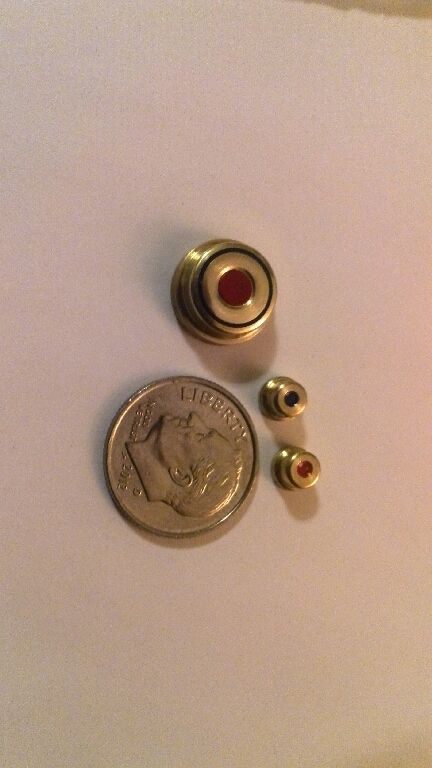
The extra hole I set up for a spring loaded negative contact.
Then onto the part that is always tricky with a hand cranked mill, the bottom cap, nope wasn't any easier than the top cap.

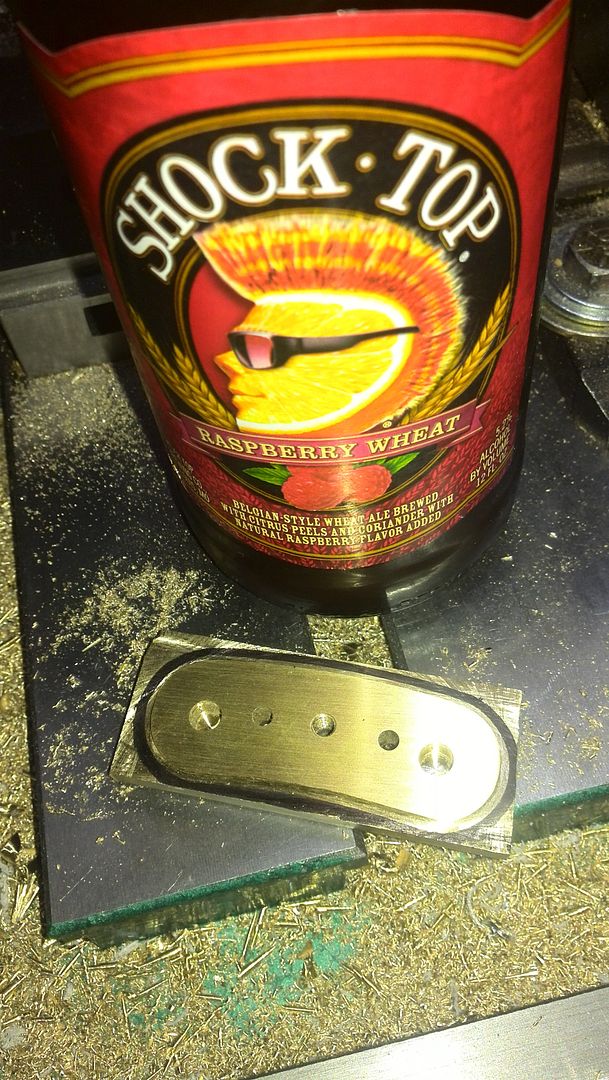
Got the layout set up for the exterior edge and settled the nerves with some cold liquid barley beverage.
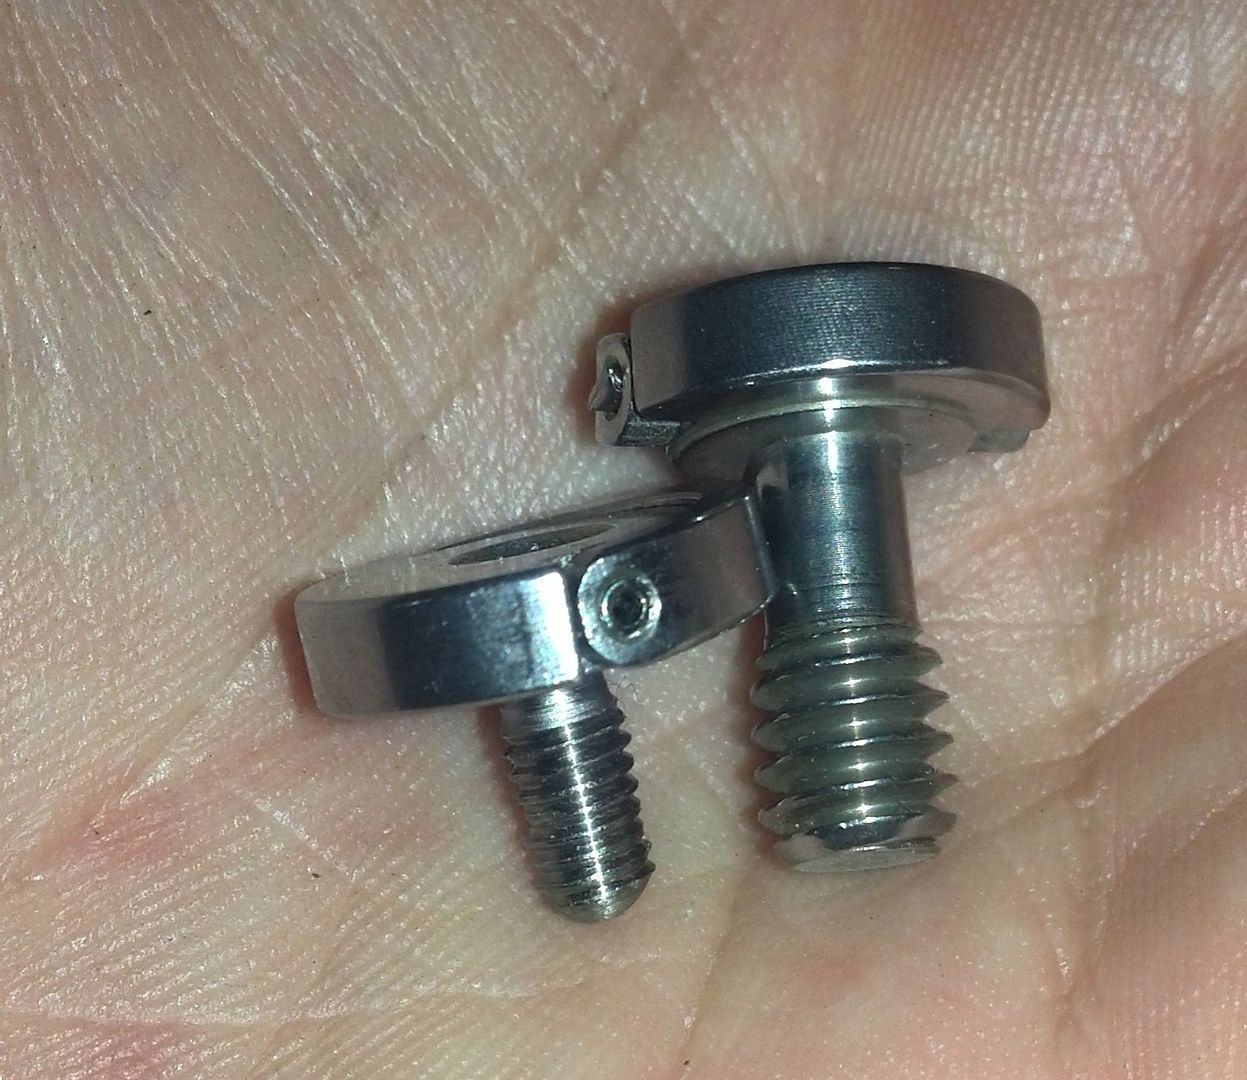
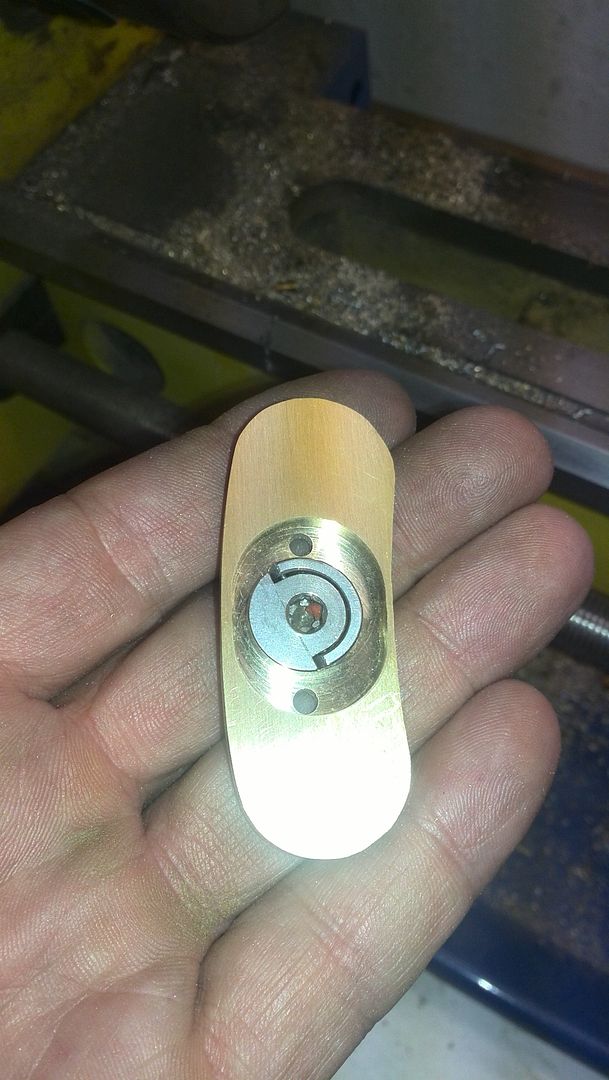
Milled a recess for the D-ring screw, this actually happened before the exterior shaping was done.
A little polish shine.
Grabbed a piece of scrap acetate and milled out some insulators with recesses for copper beryllium spring, got some 18 gauge solder onto the spring and set them in the acetate, seemed to fit well.
After the fuss with the D-ring screw I really didn't want to loose it so I lagged some threads and made a recess in the battery cap for an o-ring that works as a retainer for the screw.
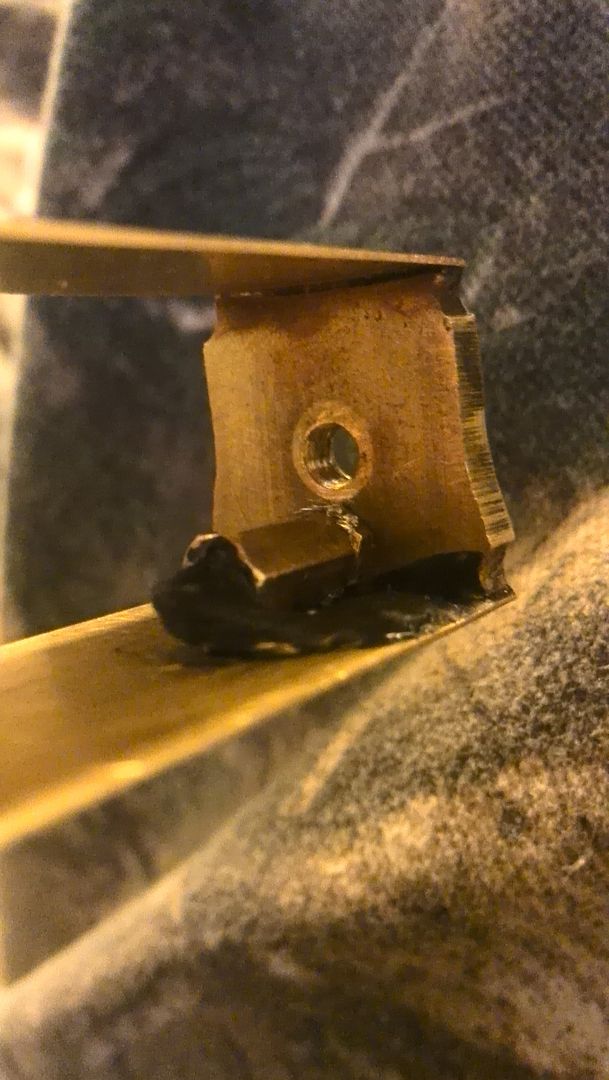
I noticed things were getting tighter than I had thought so it was onto some space saving adaptations of the parts incorporated as well as modifying the FDVs stainless 510 into a spring loaded 510.
Milled a bushing and lifted the 510 to gain some more space as well as guard against scratches to the top cap from atomizers. It now sits maybe 3/4 of a millimeter above the top cap.
Landed the wire for the spring loaded negative contact to the battery cap and coated it with some liquid tape.
The USB would have been sticking out firther than I'd like so I cut it down to size.
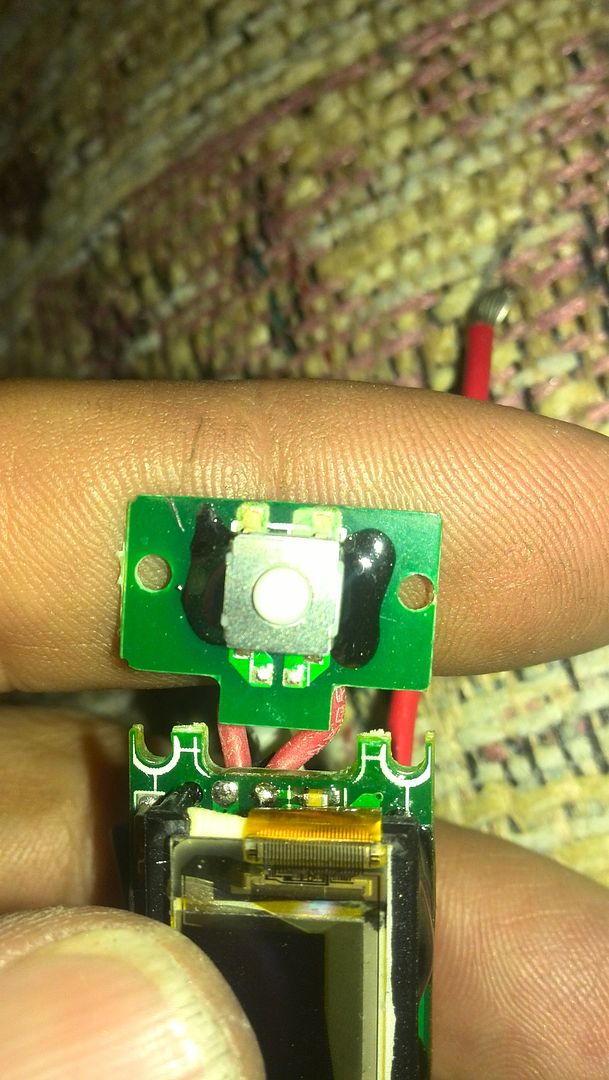
Needed more room up by the 510 the fire button board got a trim.
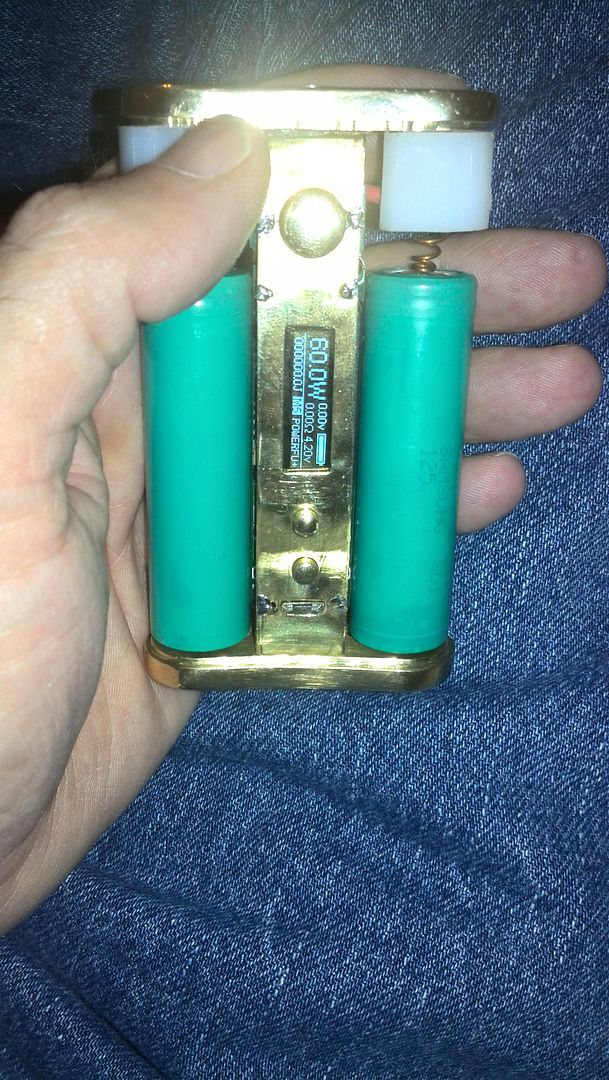
Checked the fit with some batteries to see how long to make the press fit posts in the battery cap.
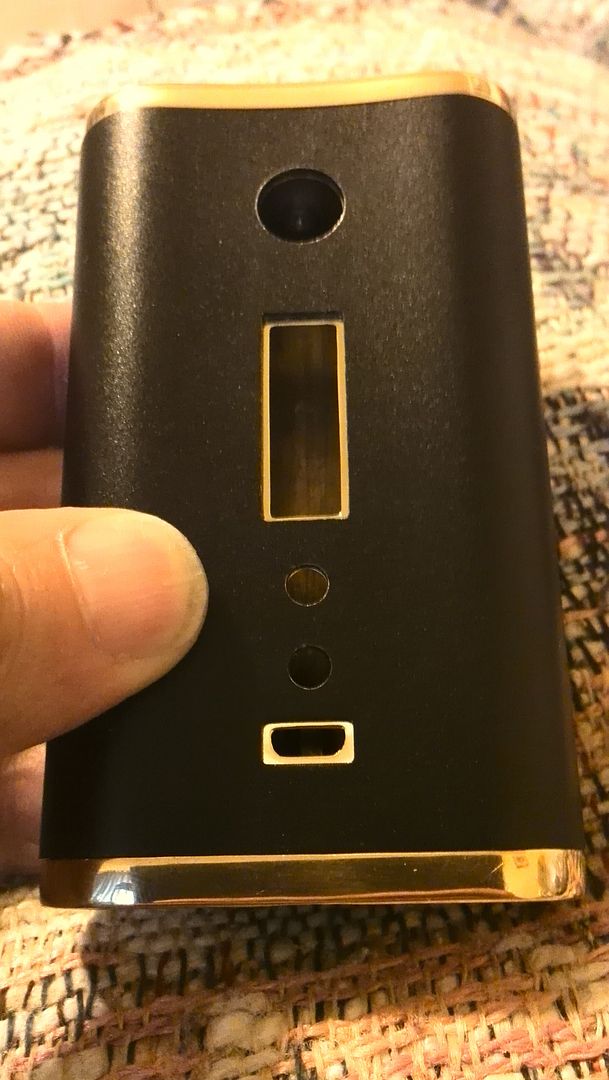
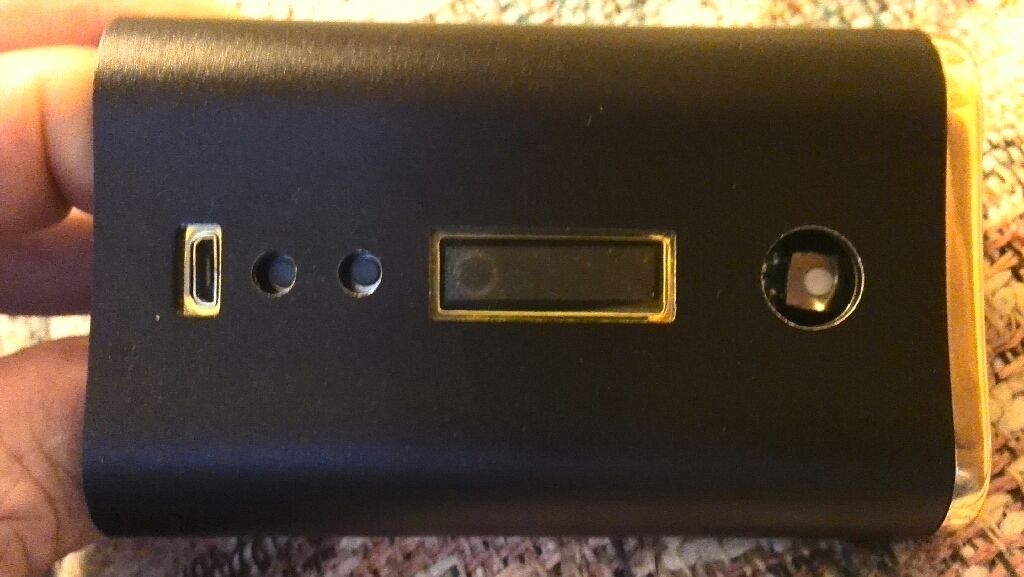
Took some care in knocking some holes in the interior structure for the button actuators, display and USB.
Interior structure looked pretty good in the power bank.
This was making me happy.
Than I got started on new button actuators as the originals just didn't do it for more, with flat stock no less.

They turn out alright.
During the test fit I noticed the wires were going to have to be locked into place tight or they would bind up on the batteries so I got the wires trained and locked into place. I soldered up the copper springs and just had the springs and stanchions for installation to go.

Springs and stanchions, CHECK
Figured I better test everything before the final installation, skeleton vapage!

It slid into place but not so easily, scratched up the up/down buttons a little but I can deal with them.
And now I have one very functional SX350J parallel 18650 Vapor Flask.